

Capture a property anchor, your gut reaction, a decision signal, and one follow-up action, then attach three photos and timestamp the visit, all in one private note. That's the whole system. Do this at every showing and you'll never again stand in a kitchen three weeks later wondering which house had the weird slope in the backyard.
Antony, who writes NestNoted's field guides for buyers and agents, built this workflow after watching serious buyers drown in scattered texts and screenshots. What follows is the exact template and a short scoring method to compare houses without losing your mind.
- Property anchor: one phrase you'll remember it by ("blue door, tight kitchen")
- Buyer reaction: how it actually felt to stand there
- Decision signal: revisit, shortlist, rule out, or offer
- Follow-up: the one thing to check before the next tour
Key Takeaways
Consistent four-field notes, taken the same way at every showing, turn scattered impressions into a comparable, decision-ready record.
| Point | Details |
|---|---|
| Use four fields every time | Capture property anchor, buyer reaction, decision signal, and follow-up at every showing. |
| Attach media immediately | Save three photos and a 20 to 40 second voice memo before leaving the property. |
| Score with weights | Rate 4 to 6 dimensions from 1 to 5, weight them by priority, and set thresholds for action. |
| Separate raw notes from recaps | Keep candid impressions private and send agents a short, curated summary instead. |
| Pick tools that support the workflow | NestNoted stores photos, voice memos, timestamps, and scores privately by default for exactly this system. |
Table of Contents
- How Do You Organize Neighborhood Research Notes on the Go?
- What Fields Belong in a Property Research Template?
- How Do You Score and Prioritize Multiple Properties?
- How Should Buyers Share Notes With Their Agent Without Losing Privacy?
- What's the Fastest Way to Set Up a Private Note System?
- How Do You Avoid Bias When Recording Your Own Impressions?
- Why Most House-Hunting Advice Gets the Hard Part Wrong
- Try NestNoted for Your Next Round of Showings
- Frequently Asked Questions
- Sources
How Do You Organize Neighborhood Research Notes on the Go?
The fastest routine treats every showing the same way: observe, capture, tag, move on. Skip this order and you'll spend more time typing than looking at the actual house.
Here's the four-step version that works whether you're touring solo or trailing an agent through six houses in one Saturday.
- Observe before you walk in. Stand on the sidewalk for 30 seconds. Note the street noise, parked cars, and how the block feels at that specific time of day.
- Capture the anchor and three photos. One phrase for the property, then photos of the thing you'll actually remember: the cracked tile, the weird lot shape, the view from the primary bedroom.
- Record a voice memo, 20 to 40 seconds. Say what you actually felt, not what you think you should say. "Kitchen felt smaller than the listing photos, but the light was great" beats a bulleted pro/con list you'll forget you wrote.
- Tag decision signal and context. Mark it revisit, shortlist, rule out, or offer, and note whether it was a weekday private showing or a packed Sunday open house.
Voice-first works best for gut reactions right after you leave the driveway. Typed notes work better for hard facts you'll want to search later, like square footage or HOA fees. Structured checklists exist for exactly this reason: after five or six showings, homes start blurring together, and a five-minute voice memo protects details a memory won't.
Attach photos to the note immediately, not at the end of the day. By the time you're home, you won't remember which staircase belonged to which house.

Pro Tip: Take one photo of the listing sign or address number first. It sounds trivial, but it anchors every other photo in that batch to the right property when you're scrolling through forty images later that night.
What Fields Belong in a Property Research Template?
A useful template has the same shape every time, so ten showings produce ten comparable entries instead of ten different note styles. Real estate professionals recommend organizing showing notes into four buckets: property memory anchor, buyer reaction, decision signal, and follow-up. Build your template around that structure, then bolt on the neighborhood fields underneath.
Property section:
- Address, price, date and time of visit
- Agent name and listing ID
- Property anchor phrase (one or two words you'd say out loud to describe it)
- Top 3 photos, tagged to the address
- Voice memo, 20 to 40 seconds
- Buyer reaction: emotion plus a ranked fit tag (love it, workable, pass)
- Decision signal: revisit, shortlist, rule out, offer
- Follow-up action: what needs checking before the next visit
Neighborhood section:
- Commute time at the actual hour you'd be driving it, not off-peak
- Nearby amenities (grocery, transit, parks)
- School zone, even if you don't have kids, because it affects resale
- Noise level and source (traffic, train, neighbors)
- Parking availability on the street and in front of the house
- Signs of future development (permits, cranes, empty lots nearby)
- General safety impression based on your own visit
Paste this into a spreadsheet, a notes app, or a dedicated tool. The point isn't the software. It's that every property gets the same fields filled in the same order, so property twelve is as easy to compare as property two.
How Do You Score and Prioritize Multiple Properties?
Weighted scoring turns a pile of impressions into a ranked list, which matters once you've toured more than five or six houses and they start competing for the same mental shelf space.
Start by picking four to six dimensions that actually matter to you, not a generic list. A common set: commute, school zone, price fit, condition, noise, and neighborhood feel. Assign each one a weight from 1 to 5 based on how much it actually drives your decision. Commute might be a 5 if you have a fixed office schedule; noise might be a 2 if you work from home with headphones on anyway.
- Score each dimension 1 to 5 for every property, based on your notes rather than the listing description.
- Multiply each score by its weight, then add the totals for a single weighted score per property.
- Rank properties by that score and look for patterns across your notes, not just the number.
- Set decision triggers ahead of time. A structured neighborhood scoring system works only if the score actually leads somewhere: a total above a set threshold means schedule a second visit, a total below another means cross it off without agonizing over it again.
Patterns matter more than any single score. If four different showings triggered the same buyer objection ("felt cramped," "the yard backs onto something loud"), that's not bad luck. That's a signal about what you actually need in a house, and it should reshape your weights for the next round of tours.
How Should Buyers Share Notes With Their Agent Without Losing Privacy?
Keep raw notes private by default and share a curated recap instead. Your unfiltered voice memo about a bathroom that "smelled like someone's grandmother's house" doesn't need to reach the listing agent, but the underlying facts do.
- Raw notes (voice memos, gut reactions, candid photos) stay private to you
- A short recap goes to your agent: shortlist status, flagged concerns, questions to confirm
- Red flags get their own line so your agent can act on them directly, like ordering an inspection or calling the listing agent about a disclosed issue
This split lets your agent pull comps, negotiate, and schedule inspections without ever hearing you complain about someone's taste in wallpaper. A voice-first workflow converted into structured fields speeds this up, since the recap practically writes itself once your notes already follow the same four-bucket format.
Pro Tip: Send recaps weekly instead of after every single showing. Agents can act on five properties at once far more efficiently than on one drip-fed update at a time.
What's the Fastest Way to Set Up a Private Note System?
A spreadsheet is fine if you're touring fewer than ten houses and don't need photo storage. Past that, the friction of managing image files and voice memos outside the sheet starts costing you more time than it saves.
Look for four features regardless of what you pick: photo attachments tied to each entry, automatic timestamping, tags for decision signals, and offline access for showings in dead zones.
- Build your template fields first (the ones above)
- Pre-fill anything repeatable, like your weight scale or agent contact
- Test attaching a photo and a voice memo before your first real showing
- Confirm it works without signal, since plenty of neighborhoods have dead spots
NestNoted was built specifically for this, with private-by-default storage and fields that match this exact workflow.
How Do You Avoid Bias When Recording Your Own Impressions?
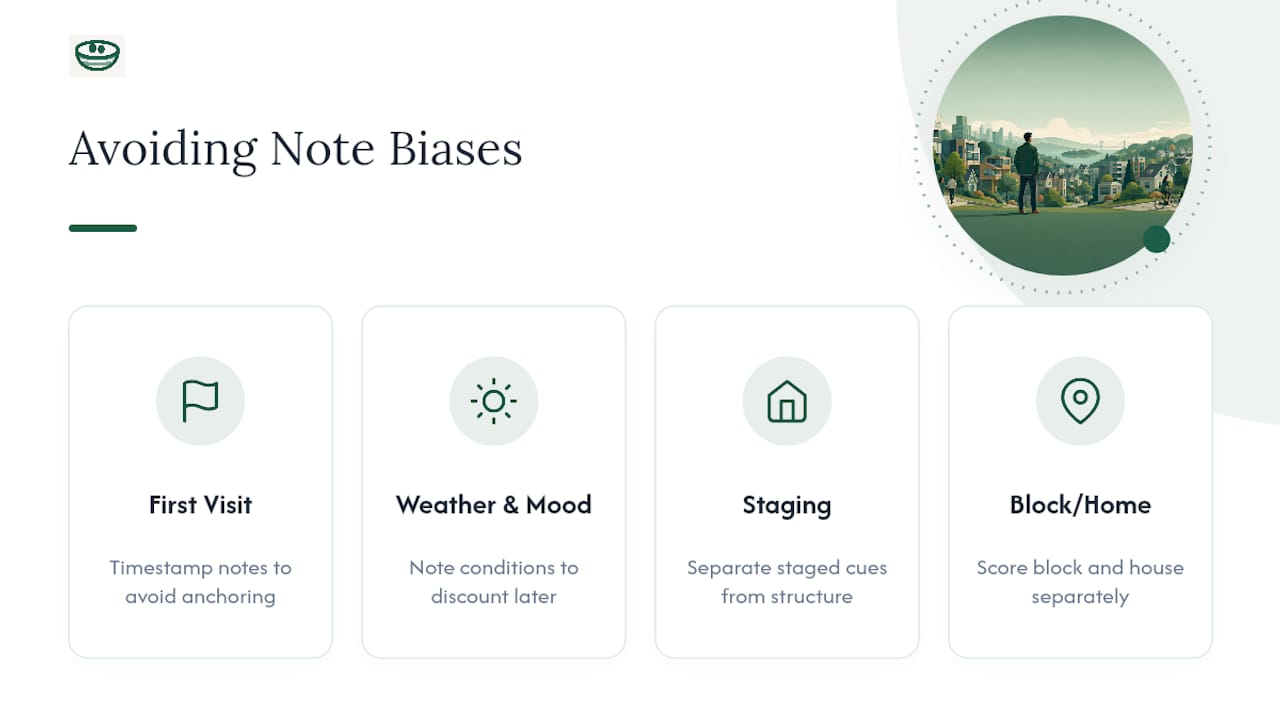
Subjective notes are useful right up until they're colored by things that have nothing to do with the house. The most common trap is the first-house effect: whatever you see first that day becomes the unspoken benchmark for every showing after it, even if it was mediocre.
Weather and mood distort judgment more than buyers expect. A sunny Tuesday afternoon showing makes a mediocre yard look great; a rainy Sunday makes a genuinely good one look gloomy. Note the conditions alongside your reaction so you can discount them later.
Staging is designed to manipulate exactly the kind of gut reaction you're trying to capture honestly. Fresh flowers and baked-bread smells are real tricks that work on real buyers, so separate what you're reacting to from what's actually structural or permanent.
Ranking street-level cues separately from house-level cues prevents another common error: falling for a great house on a mediocre block, or dismissing a solid block because one house on it happened to be a letdown. Score the street and the structure as two different lines, not one blended impression.
Anchoring bias creeps in when you tour the same neighborhood twice. Your second visit gets compared to your memory of the first, not judged fresh, which is exactly why timestamped notes from the actual day matter more than what you think you remember.
Why Most House-Hunting Advice Gets the Hard Part Wrong
Most house-hunting guides obsess over what to look for on a showing, crown molding, foundation cracks, water pressure, and barely touch what to do with that information five houses later. That's backwards. The looking is the easy part. The remembering, comparing, and deciding is where buyers actually fall apart.
The conventional wisdom says "take notes." It doesn't say which notes, in what format, or how those notes need to talk to each other across a dozen showings spread over two months. A note that isn't structured the same way every time isn't a system, it's a diary, and diaries don't produce rankings.
What the research on showing recall actually supports is narrower than people expect: four fields, three photos, one voice memo, done consistently. Not exhaustive. Not clever. Just repeatable enough that property nine is as easy to judge as property one.
If you take one thing from this, prioritize consistency over detail. A short note taken the same way every time beats a thorough note taken only when you remember to bother.
Try NestNoted for Your Next Round of Showings
NestNoted is the private alternative to the spreadsheet-and-screenshots pile most buyers end up with by house number seven. Every field in the template above, property anchor, buyer reaction, decision signal, follow-up, plus neighborhood details, maps directly to fields inside the tool, with photos and voice memos attached to the right address automatically and timestamped the moment you save them.
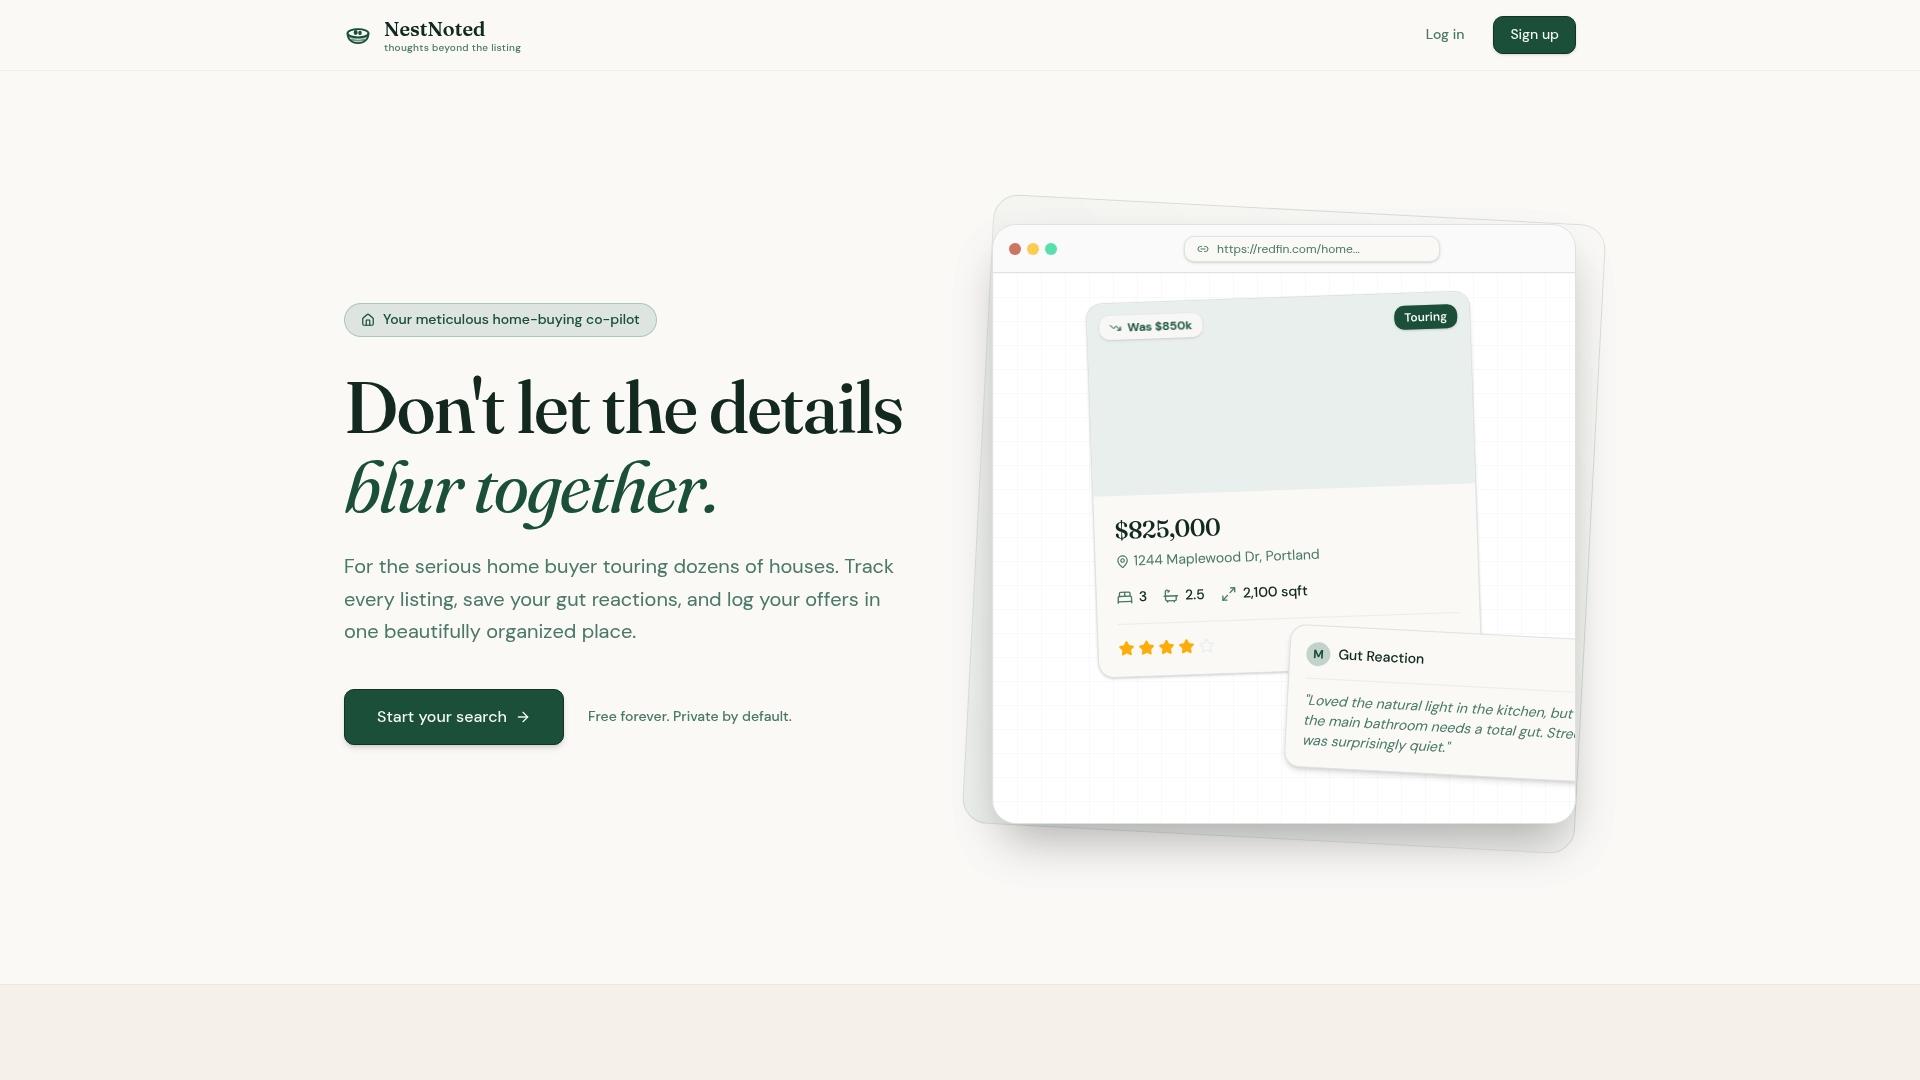
Because notes stay private by default, you get the same candid reactions the four-bucket workflow depends on, without worrying a listing agent will ever see your unfiltered take on someone's decorating choices. When you're ready to compare properties side by side, NestNoted's comparison views turn your weighted scores into a ranked list automatically, and shared workspaces let your agent see the curated recap without touching your raw notes.
If you're touring more than a handful of properties this season, start a NestNoted workspace before your next showing and bring the template with you.
Frequently Asked Questions
What's the minimum information I need to organize neighborhood research notes effectively? Four fields cover it: a property anchor phrase, your honest reaction, a decision signal, and one follow-up action. Add three photos and a timestamp, and you have everything needed to compare that property weeks later.
Should I take notes by voice or by typing during a showing? Voice works best for gut reactions right after leaving a property, since it's faster and captures tone that typed notes lose. Type the hard facts, price, square footage, HOA details, since those are easier to search later.
How many neighborhood visits do I need before I trust my impression? Visit at different times of day and on both a weekday and a weekend before drawing conclusions. Traffic, noise, and parking availability all shift enough between a Tuesday morning and a Saturday night that one visit rarely tells the full story.
Can I use a spreadsheet instead of a dedicated app? Yes, for smaller searches. Once you're tracking photos, voice memos, and more than eight or nine properties, the file management usually becomes more work than the notes themselves, which is when a dedicated private tool starts paying off.
How do I keep my honest impressions private from the seller's agent? Keep raw notes, voice memos, and candid reactions in a private note system, and share only a short recap with your own agent: shortlist status, specific concerns, and open questions. Your agent gets what they need to act without ever seeing the unfiltered version.
Sources
- How to Organize Real Estate Showing Notes for Buyer Clients | ShowingRecap
- House Hunting: How to Find "The One" - Wana Crouch Realtor
- How to Research a Neighborhood Before You Buy