

A home tour checklist is a systematic tool that helps buyers thoroughly assess properties during viewings and make informed decisions. Most buyers tour multiple homes within weeks, and without a structured property viewing list, critical details blur together fast. 70% of homebuyers miss at least three critical checks during viewings that directly affect resale value and livability. That statistic reflects a real pattern: buyers walk through a home emotionally engaged but analytically unprepared. A solid house tour checklist fixes that by turning each visit into a structured evaluation you can compare later.
What does a good home tour checklist cover?
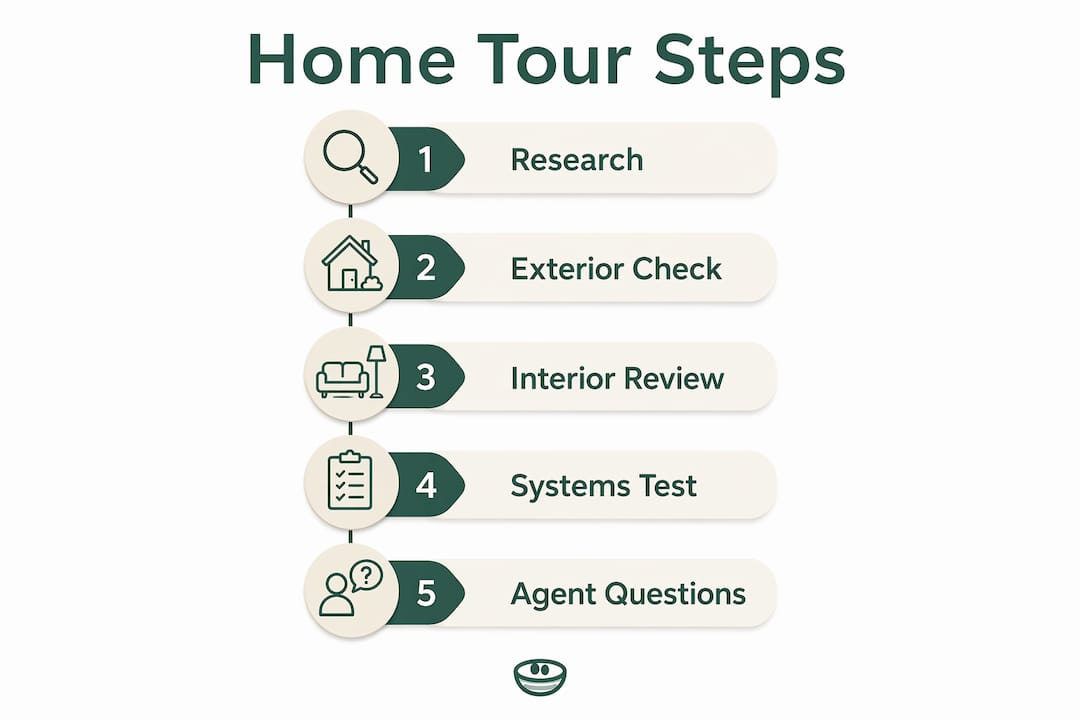
A complete home tour checklist covers four areas: pre-tour research, exterior inspection, interior systems, and questions for the agent or seller. Each area catches different categories of risk. Pre-tour research surfaces issues you cannot see on a walkthrough. Exterior inspection spots structural red flags before you fall in love with the kitchen. Interior checks assess the systems that drive long-term costs. Agent questions fill in the history gaps.
The industry term for this process is a property viewing checklist, sometimes called a real estate showing guide. Both phrases describe the same practice: a repeatable, category-by-category evaluation that produces comparable notes across multiple listings. Using the same framework for every home you tour is the only reliable way to compare them objectively.
How to prepare before your first home tour
Preparation before the tour separates buyers who make confident offers from those who second-guess themselves for weeks. Researching flood risk, broadband speeds, and school catchment areas before physical tours saves time and informs smarter questions on-site. These factors shape daily life and resale potential, yet none of them are visible during a walkthrough.
What to research before you arrive
Run through this checklist before scheduling any showing:
- Flood zone status: Check FEMA flood maps for the address. Flood insurance adds hundreds of dollars per year to ownership costs.
- School district boundaries: Confirm the exact district, not just the general area. Boundaries shift, and the wrong side of a line changes property values.
- Broadband availability: Use the FCC broadband map to verify actual speeds at the address. Remote workers and families with streaming needs should treat this as non-negotiable.
- Crime statistics: Pull neighborhood crime data from local police department portals or the FBI's Uniform Crime Reporting database.
- Planned development: Search the county planning department's website for approved permits near the property. A new highway or commercial development nearby changes the neighborhood permanently.
- Energy efficiency: A home's energy performance rating signals future utility costs. Improving energy performance significantly affects running costs and property value, so ask for utility bills upfront.
Tools to bring on every tour
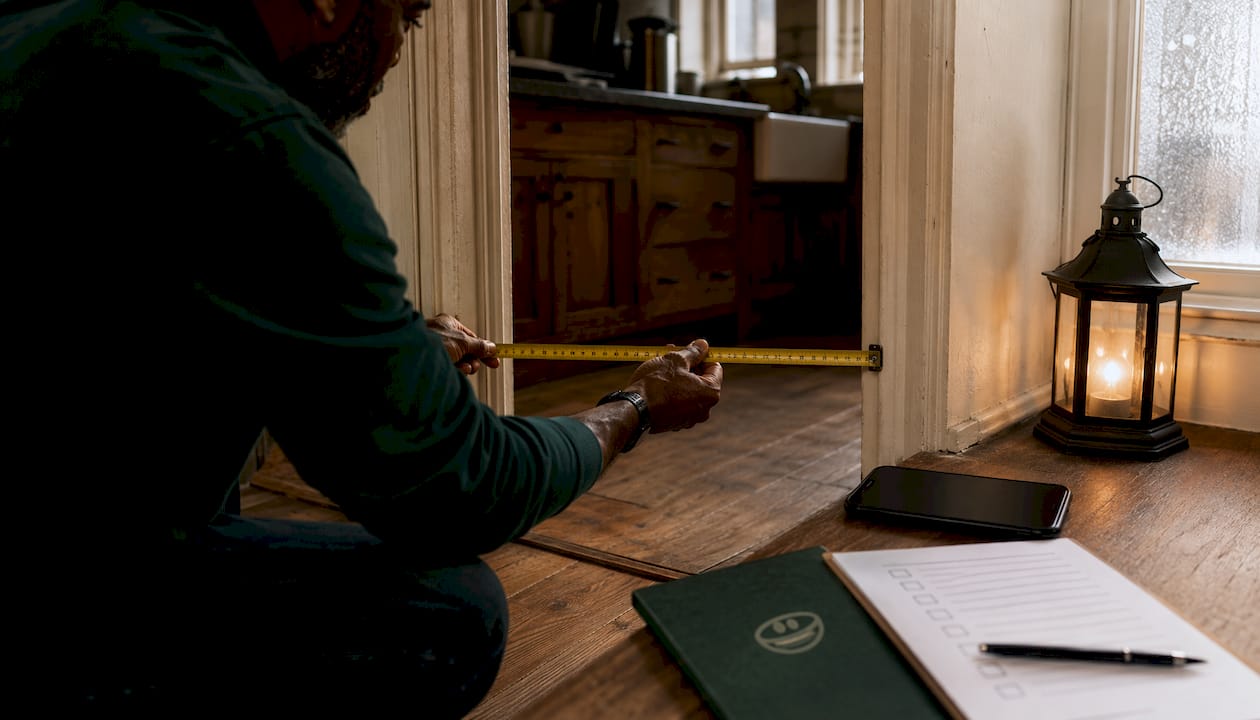
Bring a tape measure, flashlight, and smartphone to every showing. The tape measure lets you verify whether your furniture fits. The flashlight reveals water stains in basements, attics, and under sinks. The smartphone captures photos and video for post-tour comparison, which matters most when you are evaluating five homes in a single weekend.
Pro Tip: Set up a simple 1–5 rating system before your first tour. Score each home on location, condition, layout, and price fit. Consistent scoring makes side-by-side comparison far easier than relying on memory.
Which exterior features should you inspect first?
A thorough 10-minute exterior perimeter walk early in a home tour identifies costly red flags related to roof condition, chimney integrity, and water drainage. Exterior condition signals what is happening inside. A sagging roofline, for example, often points to structural issues that a seller's disclosure may not mention.
Walk the full perimeter in this order:
- Roofline: Look for sagging ridges, missing shingles, or visible patches. An aging roof costs $10,000 or more to replace and is a direct negotiation point.
- Chimney: Check for leaning, cracked mortar, or missing flashing. A compromised chimney creates both water and fire risk.
- Foundation: Scan the base of the home for horizontal cracks, which indicate pressure from soil movement. Vertical hairline cracks are common and usually minor. Horizontal cracks are not.
- Gutters and downspouts: Confirm they are attached, clear, and directing water away from the foundation. Pooling water near the foundation is one of the most expensive problems a home can have.
- Grading: The yard should slope away from the house. Flat or inward-sloping ground channels rainwater toward the foundation.
- Driveway and walkways: Cracks and heaving indicate soil movement or tree root intrusion. These are maintenance costs that add up quickly.
After the perimeter walk, step back and assess the neighborhood. Note traffic volume, noise levels, proximity to commercial properties, and the general upkeep of neighboring homes. Neighbors who maintain their properties protect your future resale value. Neighbors who do not can suppress it.
Pro Tip: Visit the property at two different times of day. Morning light hides shadows that reveal drainage problems. Evening visits show traffic patterns, street lighting, and noise levels that a midday tour misses entirely.
How to evaluate interior rooms and key home systems
Buyers who skip key equipment checks like functioning HVAC, electrical panels, and plumbing during tours face expensive surprises after closing. A room-by-room approach prevents that. Move through the home methodically rather than following the seller's preferred tour path.
Structural elements to check in every room
Walls, ceilings, and floors tell the story of a home's maintenance history. Look for water stains on ceilings, which indicate past or active roof leaks. Check corners where walls meet ceilings for cracks, which can signal foundation movement. Press gently on floors near bathrooms and kitchens to detect soft spots caused by water damage beneath the surface. Open and close every interior door. Doors that stick or fail to latch indicate frame shifting, which is a structural concern worth flagging.
Kitchen and bathroom inspection
Kitchens and bathrooms carry the highest repair costs per square foot. Run every faucet and check water pressure. Look under sinks for active leaks, water stains, or warped cabinet floors. Turn on the exhaust fan and verify it actually vents to the outside rather than recirculating air. Check the age of appliances. A refrigerator, dishwasher, and range all approaching 15 years old represent near-term replacement costs you can factor into your offer.
Utility systems: HVAC, electrical, and plumbing
Test every light switch and electrical outlet. A switch that controls nothing may indicate incomplete or amateur wiring. Locate the electrical panel and check whether it has been updated. Federal Pacific and Zinsco panels, common in homes built before 1990, carry documented safety concerns and are frequently flagged by home inspectors. Ask when the HVAC system was last serviced and check the filter. A dirty filter in a recently listed home suggests deferred maintenance across the board.
Pro Tip: Use your smartphone's video function to record a narrated walkthrough of each room. Describe what you see out loud. When you review footage that evening, you will catch details your eyes skipped during the excitement of the tour.
What questions should you ask the agent or seller?
Asking the right questions about property age, repairs, and running costs uncovers information that directly affects negotiation and long-term ownership costs. Agents are legally required to disclose known material defects, but they answer only what you ask.
Ask these questions at every showing:
- How old is the roof, and when was it last inspected?
- When were the HVAC, water heater, and major appliances last replaced or serviced?
- Has the property had any water intrusion, flooding, or mold remediation?
- Are there any open permits or unresolved code violations?
- What are the average monthly utility costs across all four seasons?
- Have there been any disputes with neighbors or the HOA?
- What is the seller's timeline, and are there any offers already on the table?
- Are there any planned developments, road projects, or zoning changes nearby?
Document every answer on the spot. Memory is unreliable after three or four showings in a day. Written notes from the agent's responses become leverage during negotiation and protect you if a seller later claims they disclosed something they did not.
House tours are screening steps, and a professional home inspection follows after offer acceptance. The questions above narrow your list and sharpen your offer. The inspector's report confirms what you found and surfaces what you missed.
Key Takeaways
A structured home tour checklist is the single most effective tool buyers have for comparing multiple listings objectively and avoiding costly post-closing surprises.
| Point | Details |
|---|---|
| Research before you tour | Check flood zones, school districts, broadband speeds, and crime data before visiting any property. |
| Walk the exterior first | Spend 10 minutes on a perimeter walk to spot roof, foundation, and drainage issues before entering. |
| Test every system | Run faucets, flip switches, and check the HVAC and electrical panel during every interior tour. |
| Ask specific questions | Request roof age, utility costs, repair history, and permit status from the agent at every showing. |
| Document everything | Use photos, video, and written notes to compare homes accurately after multiple tours. |
Why emotion is your biggest enemy on a home tour
I have watched buyers walk into a home with a perfectly prepared house viewing checklist, fall in love with the kitchen island, and completely forget to check the basement. The checklist sat in their bag. They made an offer. The inspection revealed a cracked foundation and a 20-year-old furnace. They closed anyway because they were emotionally committed.
The checklist only works if you use it on every room, every time, regardless of how much you like the home. I have found that the best approach is to complete the checklist before you let yourself have an opinion. Walk the exterior, check the systems, ask the questions, write down the answers. Then step back and decide how you feel.
Preparation also reduces the stress that comes from touring a dozen homes in a compressed timeline. When you have consistent notes on each property, the decision becomes analytical rather than emotional. You are comparing data, not memories. That shift changes everything about how confidently you make an offer.
One more thing: comprehensive preparation before tours is non-negotiable because many impactful factors are invisible during walkthroughs. The neighborhood you cannot research in advance is the neighborhood that surprises you after you move in.
— Antony
How Nestnoted helps you track every home you tour
Touring five or ten homes in a month generates more notes, photos, and impressions than any spreadsheet handles well. Nestnoted is built specifically for this problem.

With Nestnoted's listing tracker, you log each property's details, attach photos, record your impressions, and track offers, all in one private place. Your notes stay confidential by default, so you can be completely honest about what you liked and what concerned you. That candid record becomes your comparison engine when you are deciding between two finalists. Nestnoted keeps the details of every home you have toured organized and accessible, so your decision is based on facts, not fading impressions.
FAQ
What is a home tour checklist?
A home tour checklist is a structured list of items to inspect and questions to ask during a property showing. It covers exterior condition, interior systems, neighborhood factors, and agent questions to help buyers evaluate and compare multiple homes.
How long should a home tour take?
A thorough home tour takes 30–60 minutes for an average-sized property. Rushing a tour increases the risk of missing structural issues, system problems, or layout concerns that affect long-term livability.
Does a home tour replace a professional inspection?
No. Home tours are initial screening steps, not substitutes for a formal inspection. A licensed home inspector performs a detailed structural and systems assessment after offer acceptance.
What should I bring to an open house?
Bring a tape measure, flashlight, smartphone for photos and video, and a printed or digital checklist. These tools help you assess spaces accurately and capture details for post-tour comparison.
How do I compare multiple homes after touring them?
Use a consistent rating system across every tour, scoring each home on location, condition, layout, and price fit. Nestnoted provides a private platform to log and compare notes across all the properties you have visited.