
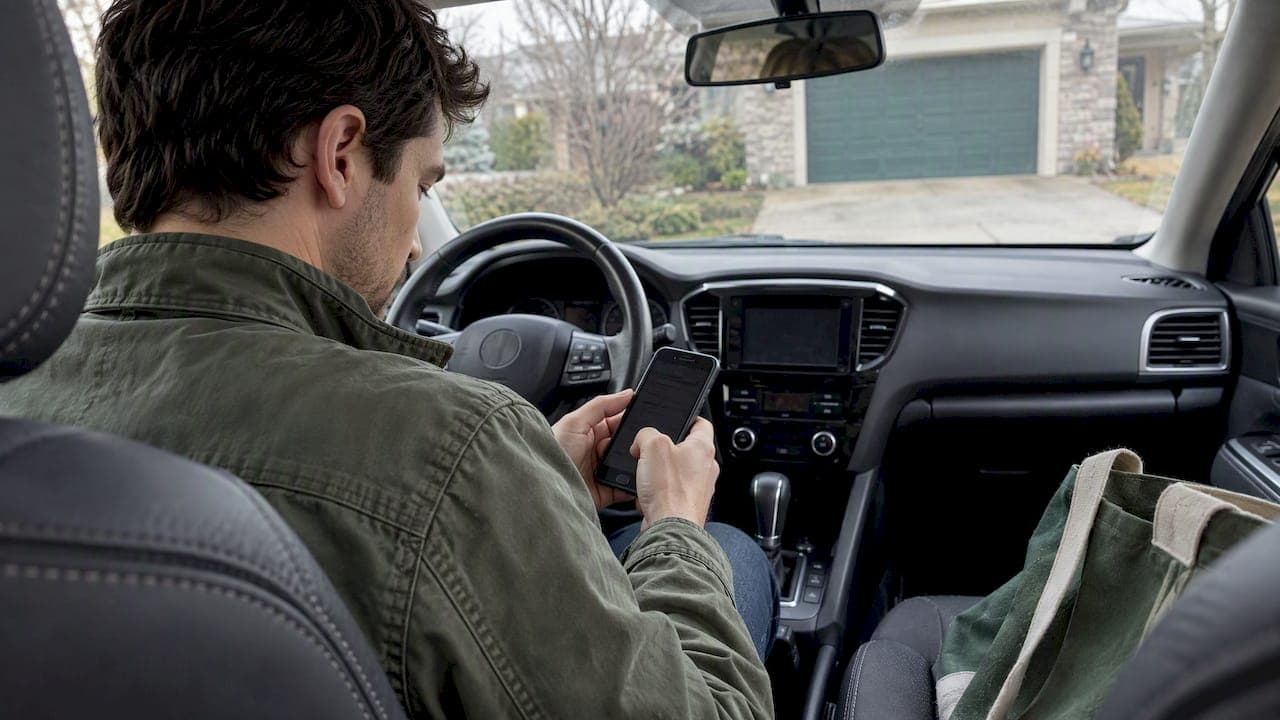
The fastest way to keep tour photos useful is to centralize them in a private workspace right away, follow a short capture routine of 30 to 60 seconds per home, add three to five tags plus a one-line note for each property, then compare homes with side-by-side views and simple scores. Skip any of these steps and photos pile up in a camera roll with no context, which is exactly how buyers forget which kitchen had the cracked tile.
TL;DR:
- Using a consistent 30 to 60 second capture routine with specific vantage points helps compare properties more objectively and reduces aesthetic bias.
- Always ask for permission before photographing a home, especially since sellers may restrict images to protect privacy, and smart devices may record without consent.
- Tag photos with property ID, room type, condition, and priority, and add brief notes to quickly assess repairs and key features later.
- Side-by-side comparison of identical rooms makes differences in layout and condition more apparent than scrolling through separate albums.
- Upload photos immediately into a private workspace to maintain organization and protect sensitive information during multiple showings.
- ✓Track listings in one private platform
- ✓Document impressions from toured properties
- ✓Log offers on properties you have toured
- ✓Compare homes with organized insights
Table of Contents
- Why you must ask permission and protect privacy when photographing homes
- A 30 to 60 second capture routine that works every time
- Practical tags, one-line notes, and scoring for every photo
- How to compare homes and decide which to pursue
- How to sync tour photos into one private place without oversharing
- How agents can help manage photo permission and privacy
- Why a disciplined photo habit changes buyer outcomes
- Put this workflow into practice with NestNoted
- FAQ
- Sources
Why you must ask permission and protect privacy when photographing homes
Photographing a home you're touring isn't automatically fine just because the door is open. Always ask the hosting agent or seller for permission before you start shooting, since some sellers restrict photography to protect family photos, personal documents, or other private items in view. According to NAR guidance on smart-home privacy, connected devices in a home can capture audio or video, so treat any showing as potentially recorded and save sensitive negotiation talk for later.
A few habits keep you on solid ground:
- Ask the agent directly before taking out your phone, not after you've already snapped a few shots.
- Skip photographing mail, framed family photos, medicine cabinets, or anything that identifies the current owners.
- Assume smart speakers, doorbell cameras, or thermostats with microphones might be recording, and hold off on strategy talk until you're outside.
Buyers should ask for permission every time, not just at the first showing, since sellers can set 'no photography' expectations that change from one listing to the next.
A 30 to 60 second capture routine that works every time
Consistency beats volume. A fixed order of shots, repeated at every showing, makes it possible to compare homes later without guessing what you were looking at.
- Exterior front and street view, so you remember the approach and curb appeal.
- Kitchen overview from the entry point, capturing the full layout in one frame.
- Main living areas, shot from the same corner or doorway each time.
- Primary bedroom, focused on size and natural light rather than staging.
- Visible systems and damage, including water heater, electrical panel, water stains, or cracked tile.
Shooting the same vantage points in every home removes a lot of the aesthetic bias that comes from one listing having better staging or lighting than another. Import photos immediately into one place rather than letting them sit scattered across a personal camera roll between showings.
Pro Tip: Set a single rule, like importing photos the moment you leave the driveway, so nothing gets lost between showings.
Practical tags, one-line notes, and scoring for every photo
A simple tagging system turns a pile of photos into something you can search and sort. We recommend a small, consistent tag set rather than a long one that nobody keeps up with:
- Property ID, so every photo ties back to the right address.
- Room type, like kitchen, primary bedroom, or basement.
- Condition, marked as good, fair, or issue.
- Priority, marked as keep, consider, or reject.
Pair each photo with a one-line note using a simple template: room, then the standout detail or issue, then a quick estimate if repairs are involved. "Kitchen, original cabinets, likely $8,000 to reface" tells you more in five seconds than a photo alone ever could. Our guide to annotating listing photos walks through more examples of this kind of shorthand.
How to compare homes and decide which to pursue
Once photos are tagged, comparison becomes a matter of lining things up rather than relying on memory. Pairing identical-room photos side-by-side, kitchen next to kitchen, bathroom next to bathroom, makes differences in layout and condition obvious in a way that scrolling through separate albums never does.
Score each property on the criteria that actually affect your decision:
- Structure and foundation condition.
- Major systems, including roof, HVAC, and plumbing age.
- Layout and flow for how you actually live.
- Natural light and orientation.
- Renovation risk based on what you saw firsthand.
Add the scores up and you have a rough ranking instead of a gut feeling.
- Turn annotated photos into a short pros and cons list for each home.
- Decide the next step for each one, whether that's scheduling an inspection, asking for a repair credit, or preparing an offer.
- Revisit the side-by-side comparison before any final decision, since first impressions fade fast after a few more showings.
How to sync tour photos into one private place without oversharing
Getting photos off your phone and into a single workspace matters as much as taking them. A few options work well depending on how much structure you want:
- Direct upload into a private buyer workspace, which keeps photos tied to notes and tags automatically.
- Private shared albums, useful for couples or a buyer and agent working together.
- Manual transfer methods like AirDrop, which work fine for small numbers of homes but get messy past five or six showings.
If you turn on any auto-sync feature, check the destination and privacy settings before you rely on it. If you're filing photos manually, a simple naming convention like YYYYMMDD_propertyID_room keeps folders searchable without extra software.
How agents can help manage photo permission and privacy
Agents play a real role in keeping showings both useful and respectful of seller privacy. Ask your agent to confirm photography permissions ahead of time and, where a seller requests it, note 'no photography' restrictions before the showing starts.
- Ask your agent whether the seller has requested any restrictions on photos before you arrive.
- Save any discussion of offer strategy or negotiating room for the car, not the living room.
- Ask your agent to request seller-approved photos directly when a listing restricts buyer photography.
Pro Tip: If you're touring with a partner or co-buyer, agree beforehand on who takes which shots so you're not duplicating effort or missing rooms.
Smart-home devices complicate this further. Since some systems can capture both audio and video, agents who manage access and signage ahead of a showing make it easier for everyone to know what's allowed. Our notes on private home buying workflows cover how buyers and agents can set these expectations early.

Why a disciplined photo habit changes buyer outcomes

Most buyers lose track of homes not because they forget the address, but because thirty kitchen photos in one camera roll start to look the same by the third week. A loose gallery with no tags or notes rewards whichever house photographed best, not whichever house was actually the better fit.
Online listing photos already carry outsized influence on buyer interest, and editing can exaggerate a room's appeal before you ever walk through the door. A private, structured habit during the actual tour corrects for that bias by forcing you to record what you saw, not just what looked good online. Privacy matters here too: buyers write more honest, specific notes when they know those notes stay private rather than risk turning into a public review.
— Antony
Put this workflow into practice with NestNoted
We built NestNoted around exactly this routine: a private workspace where you import tour photos, attach tags and one-line notes, and pull up side-by-side comparisons without any of it becoming public.
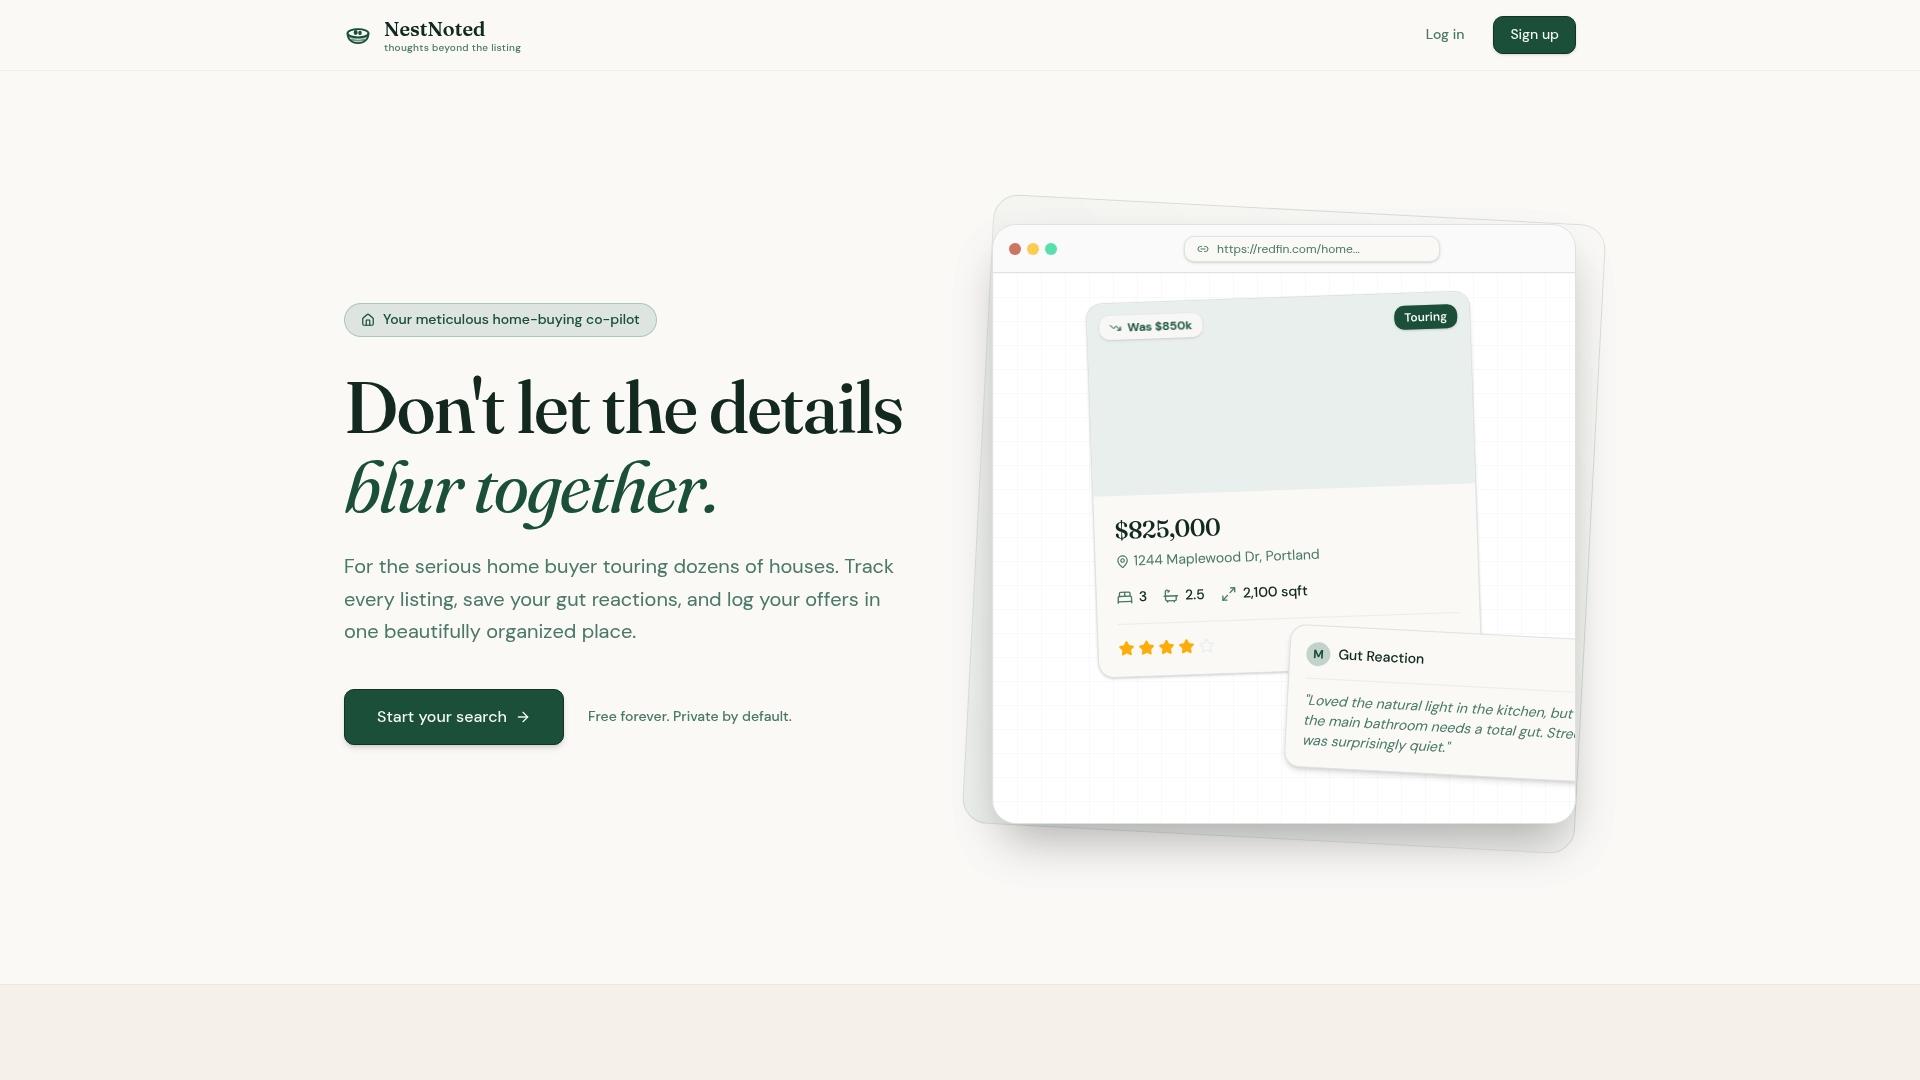
A few ways the features line up with the steps above:
- Designed to keep your notes and ratings visible only to you and anyone you invite.
- Supports auto-import from major listing sites to reduce manual filing between showings.
- Offers side-by-side comparison views to facilitate room-by-room matching as described earlier.
- Offer tracking to carry your photo-based decisions into the next steps of an actual offer.
- Shared searches for collaborating privately with an agent or a co-buyer.
If you're touring more than a couple of homes this month, set up a private workspace before your next showing and import photos the moment you walk out the door.
FAQ
Do I need permission to take photos during a home showing?
Yes. Always ask the hosting agent or seller before photographing a showing, since some sellers restrict photography to protect privacy and personal belongings, according to NAR's consumer guidance.
Can smart-home devices record me during a tour?
Smart speakers, doorbell cameras, and similar connected devices can capture audio or video during a showing, so it's worth avoiding sensitive conversations about offers or strategy inside the home, per NAR's guidance on smart-home privacy.
What's a simple tagging system for organizing tour photos?
A workable set includes property ID, room type, condition (good, fair, issue), and priority (keep, consider, reject). Pairing each tag with a one-line note, like room plus standout detail plus a quick cost estimate, makes photos searchable later.
How should I name and organize photo files if I'm not using a dedicated tool?
A convention like YYYYMMDD_propertyID_room keeps folders sortable by date and address without extra software. This works for a handful of showings, though it gets harder to manage once you're comparing more than five or six homes at once.
Should I trust online listing photos over what I see in person?
Treat online photos as a starting point rather than the full picture, since editing and virtual staging can make a room look better than it is, according to reporting on real estate photo practices. Document the real condition yourself during the tour to confirm what you actually saw.