

Annotate listing photos with three layers: a targeted callout, a short label, and metadata you can export. That structure turns a folder of scattered photos into a private, searchable record you can compare across every home on your list. By the end of this guide, you will know exactly which tool to open on your phone during a showing, and which one to use later when you sit down to compare three finalists side by side.
- On-site, fast: Use Apple's Markup tool to draw and label directly on a photo in seconds, no app download required.
- For reusable records: Use a lightweight annotator like VGG Image Annotator or LabelMe that saves labels as exportable metadata instead of burning text into the image.
Listing platforms already run automated room recognition on photos at scale, according to Trulia's engineering blog, because manual tagging can't keep pace with volume. Your own annotations do the same job, just for the handful of homes you actually care about.
Pro Tip: Number your callouts in order (1, 2, 3) and keep a matching one-line checklist in your notes app. Unlabeled arrows scattered across a photo are useless a week later when you're comparing five kitchens from memory.
Key Takeaways
Annotating listing photos works best when callouts, labels, and exportable metadata stay separate from the original image so notes remain private, editable, and reusable across every property you compare.
| Point | Details |
|---|---|
| Use layered annotation | Combine a callout, a short label, and exportable metadata rather than flattening text into the photo. |
| Match tools to the moment | Use Apple Markup for speed on-site, and VIA or LabelMe when you need structured, reusable exports. |
| Keep labels consistent | Use the same label set (room plus status) across every listing so comparisons stay fair. |
| Store data the right way | Export CSV for spreadsheets, JSON or COCO for structured imports, PNG for quick sharing. |
| Keep notes private by default | NestNoted lets buyers and agents store annotated photos and comparisons in a private, shared workspace. |
Table of Contents
- How Do You Annotate Listing Photos Step by Step?
- Which Tools Work Best for Annotating Property Images?
- What Makes an Annotation Actually Useful Later?
- What Should You Annotate on a Listing Photo?
- Copy-Paste Templates for Every Viewing Scenario
- Where Should You Store and Export Your Annotations?
- What I've Learned About Private, Structured Notes
- Try a Private Workspace Built for Comparing Homes
- Frequently Asked Questions
- Sources
How Do You Annotate Listing Photos Step by Step?
The workflow is the same whether you're standing in a kitchen or scrolling through a listing on your couch. Five steps, repeated for every property.
- Prepare. Rename files by address and room ("123Main_Kitchen.jpg"), pick your best angle as the hero shot, and check for visible mail, faces, or license plates before you annotate anything.
- Capture or pull images. Shoot your own photos during a tour, or save the listing's images if you're evaluating remotely.
- Annotate. Draw a small region around the item that matters, add a label of six words or fewer ("cracked tile, needs regrout"), and number it if there's more than one flag per photo.
- Save with versioning. Keep the project file open rather than flattening it immediately, so you can edit labels later without redrawing everything.
- Export. Pull metadata as CSV, JSON, or COCO when you need the data to move into a spreadsheet or another tool, per the export patterns VIA documents.
Pro Tip: Match each annotation number to a row in your comparison spreadsheet. "Callout 3" on the bathroom photo becomes row 3 in your notes, so nothing gets lost between the photo and the decision.
Which Tools Work Best for Annotating Property Images?
Different situations call for different tools, and using the wrong one for the job is how people end up with fifteen screenshots and no actual record.
- Mobile markup (Apple Markup): Best for speed and privacy during a live showing. It draws, adds text, and adjusts opacity right on the photo, but it bakes everything into the image permanently, so it's not built for later edits or structured exports.
- Browser-based annotators (Scanly, VIA): Handle vector annotations that stay editable, and tools like Scanly's image annotator process images locally in the browser rather than uploading them to a server, which matters if you'd rather not send private property photos to a random cloud service.
- Offline desktop annotators (VIA, LabelMe): Built for structured exports. LabelMe supports polygon and rectangle shapes with COCO or VOC export, which is overkill for a single home but useful if you're tracking a dozen properties with consistent labels.
- Private property management workflows (NestNoted): Instead of juggling separate annotation files and spreadsheets, a tool built specifically for home buyers keeps annotated images, notes, and comparisons in one private project.
- Deep-zoom tools: For drone shots or architectural detail where resolution matters more than speed, dedicated tiled-image annotators handle zoom levels that standard tools choke on.
What Makes an Annotation Actually Useful Later?
A callout you can't decipher two weeks later isn't an annotation, it's clutter. A few habits separate useful annotation projects from ones you abandon after the third house.
Start every label with a consistent pattern: room or issue, then a one-word status. "Kitchen — Good," "Roof — Requires repair," "HVAC — Unknown age." That consistency is what lets you scan ten properties and instantly spot the one with three "Requires repair" tags versus the one with none.
Keep annotations as vector data (coordinates plus a label) rather than flattening text into the pixels. Vector labels stay sharp at any zoom level and can be read back out programmatically, while flattened text degrades and can't be edited or reused. Assign one color per issue type across a project, and keep a small legend at the top of your notes so "red equals structural" means the same thing on house four as it did on house one.
Save the project file before closing anything, and version your exports (v1, v2) so you can trace what changed after a second walkthrough.
| Format | Best for |
|---|---|
| CSV | Quick spreadsheet import, sorting, and side-by-side scoring |
| JSON | Structured data transfer between annotation tools or apps |
| COCO | Dataset-style import when working with tools like LabelMe |
Pro Tip: Keep a tiny mapping file, just two columns: annotation number and a one-line note. It takes thirty seconds per photo and saves you from re-opening five annotated images when you're trying to remember which "Callout 2" was the moldy grout.
What Should You Annotate on a Listing Photo?
Not every detail deserves a callout. Focus on the things that actually change your decision, not every cosmetic detail a photographer angled well.
- Room basics: function, flooring, countertops, visible appliance condition, and any obvious damage or wear.
- Structural cues: cracks in walls or foundation, roofline condition, HVAC unit age or visible rust, and water stains that hint at moisture problems.
- Staging versus reality: flag furniture or decor that's clearly staged and won't stay, plus photos that look suspiciously wide-angle or overexposed to hide a small or dim room.
- Scale markers: note window sizes, ceiling height impressions, or rough distances so a photo that looks spacious doesn't fool you when the tape measure says otherwise.
Use the exact same label set across every listing you're evaluating. If "Kitchen — Good" means one thing on house A, it needs to mean the identical thing on house B, or your comparison falls apart the moment you try to score them side by side.
Copy-Paste Templates for Every Viewing Scenario
Three templates cover almost every situation you'll run into, from a five-minute walkthrough to a shared review with your agent.
- Quick onsite: three to five numbered callouts, one closing sentence on gut reaction, and a single next-step checkbox ("schedule inspection?").
- Deep inspection: a label per room, a condition flag (OK, Minor, Major), a photo ID that maps back to your file names, and a follow-up column for anything needing a contractor.
- Collaborative review: a one-paragraph project summary, your exported annotation file, and two or three specific questions for your agent or contractor.
A numbered callout on a bathroom photo ("Callout 4: hairline crack near tub") maps directly to row four in a comparison spreadsheet, or to a private note inside a tool like NestNoted where the annotated image and your write-up live together.
Where Should You Store and Export Your Annotations?
Storage depends on what you're doing with the annotation next. A photo you're texting to your partner needs a different export than a spreadsheet you're building for six properties.
Flattened images (PNG or JPEG with the annotation baked in) work for sharing a quick visual, but you lose the ability to edit or search the labels later. Structured formats (CSV, JSON, COCO) keep the data reusable and importable into another tool or spreadsheet.
| Need | Export choice |
|---|---|
| Send a visual to someone quickly | PNG (annotation baked in) |
| Build a comparison spreadsheet | CSV |
| Move data into another annotation tool | JSON or COCO |
Keep original, unannotated photos private and only blur or crop out anything personally identifying before sharing an annotated version outside your own account. For versioning, a simple filename convention (address, room, date, version number) beats trying to remember which export is current. When you do share, send both the annotated image for context and a small CSV with annotation IDs and notes attached, since the image alone won't carry your reasoning.

What I've Learned About Private, Structured Notes
Speed matters less than clarity when you're comparing homes. Buyers who keep candid, structured notes negotiate with more confidence, because they can point to a specific annotated photo instead of a vague memory. Private notes also make agent collaboration easier: you're sharing observations, not raw judgments meant only for yourself.
The one rule I'd never skip is consistency. A label set that changes from house to house isn't a comparison anymore, it's guesswork with extra steps.
Try a Private Workspace Built for Comparing Homes
NestNoted keeps your annotated photos, impressions, and offer notes in one private project instead of scattered across screenshots and spreadsheets. Every listing you track gets its own space for side-by-side comparison, and nothing you write is visible to anyone unless you choose to share it.
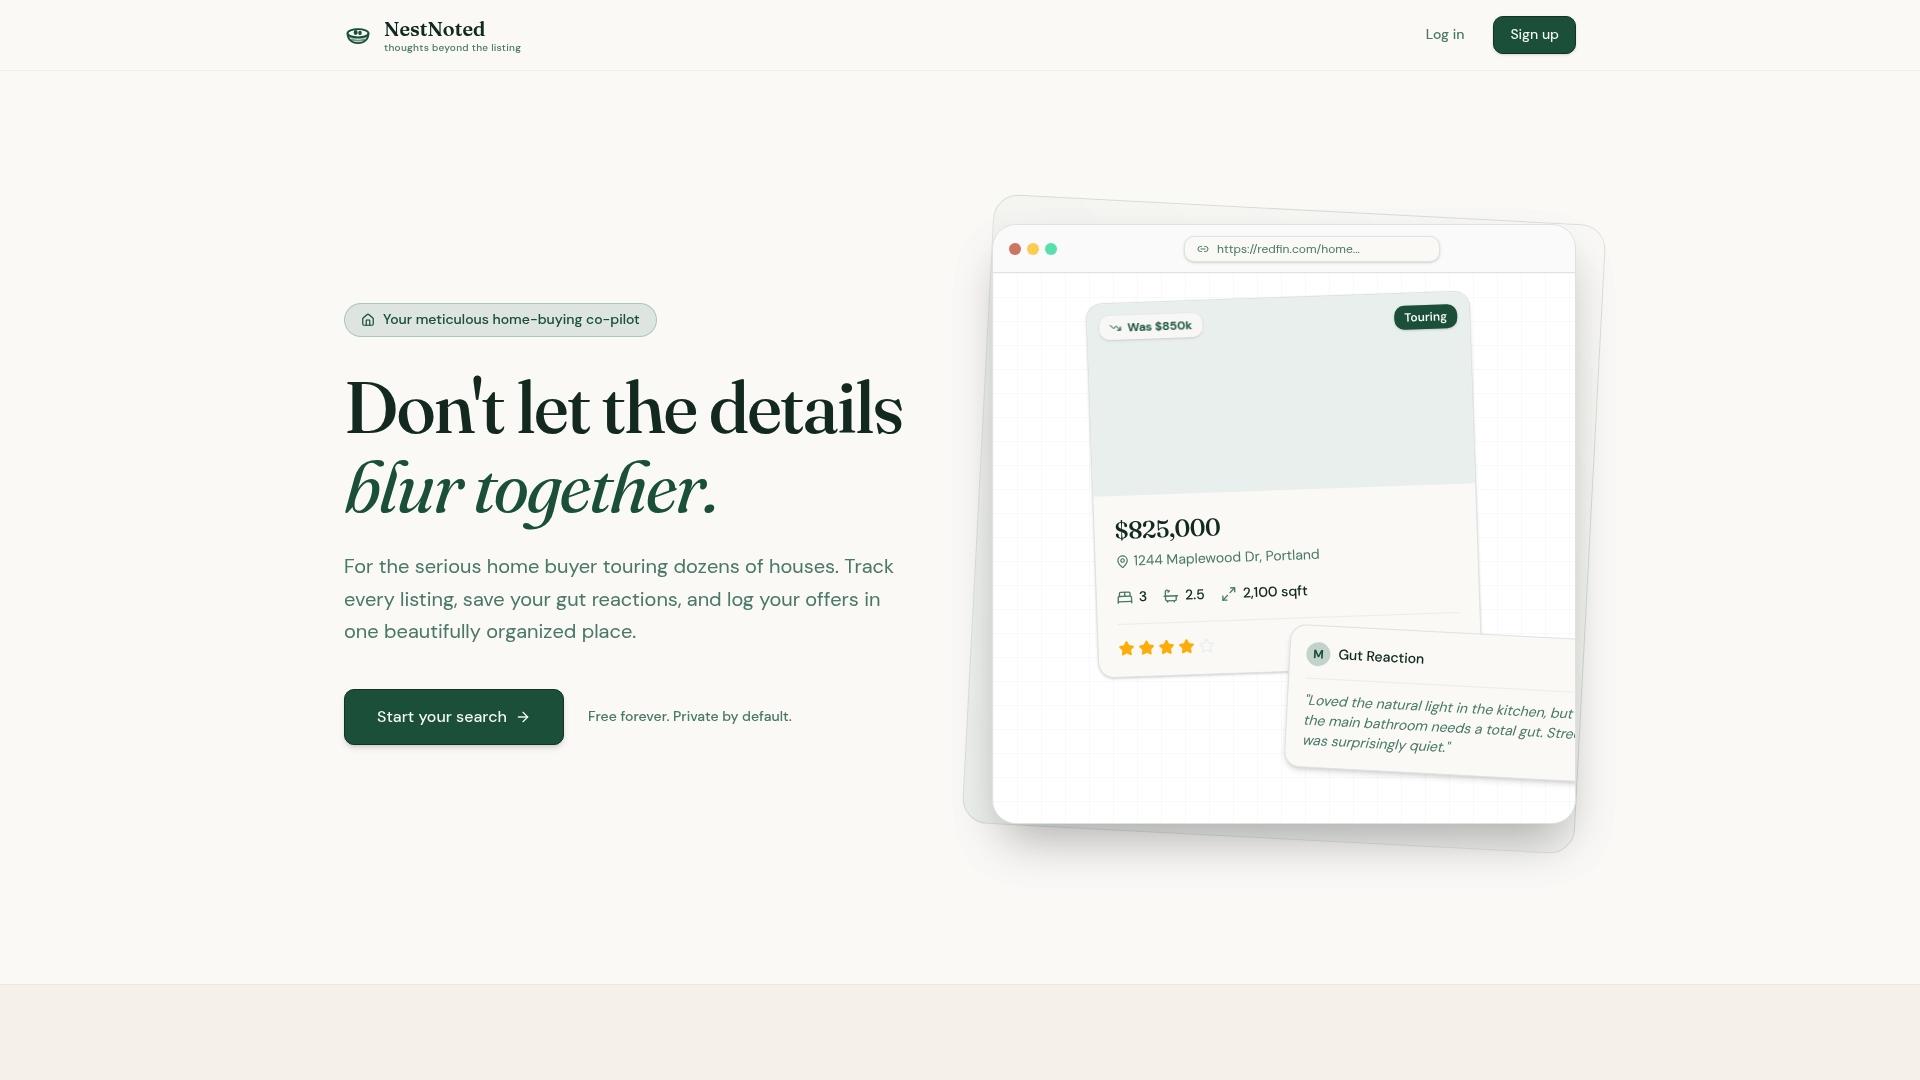
Two ways it maps directly onto the workflow above: your annotated images and one-line notes live in the same project, versioned automatically as you add more tours, and side-by-side comparisons pull those notes into one view instead of ten open tabs. Sync from Zillow or Redfin, add your own callouts, and export or share a summary with your agent when you're ready.
Creating an account is free, and you can start logging your first property in a couple of minutes at Nestnoted.
Frequently Asked Questions
What's the fastest way to annotate listing photos on my phone? Apple's Markup tool, built into the Photos app, lets you draw and label directly on an image in seconds without downloading anything extra.
Do I need special software to annotate real estate images? No. A browser-based annotator like VGG Image Annotator handles most buyer needs for free, and it saves labels as exportable data rather than permanently altering the photo.
How do I compare annotated photos from multiple listings? Use the same label set on every property, number your callouts, and export a short CSV mapping each number to a one-line note so you can scan differences at a glance.
Should annotations be saved into the photo or kept separate? Keep them separate as vector or metadata whenever possible. Baked-in text can't be edited later, while separate labels stay searchable and reusable.
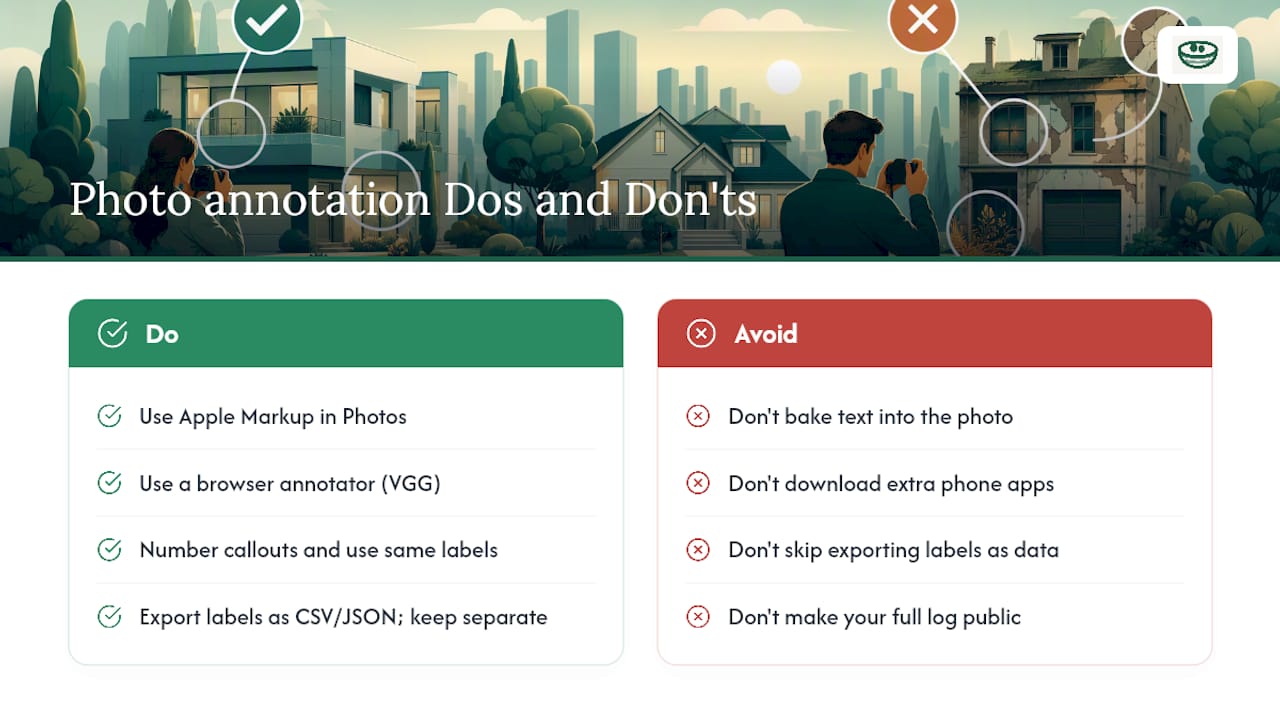
Can I share annotated photos with my real estate agent privately? Yes. Export an annotated image alongside a small CSV or JSON file, or use a private workspace like NestNoted where your agent can view specific notes without your full private log being public.
Sources
- Mark up documents and photos on iPhone, iPad, and iPod touch - Apple Support
- VGG Image Annotator (VIA)
- labelme · GitHub
- Scanly