

A buyer closing checklist is your step-by-step roadmap from signed contract to handed-over keys. It covers every document, deadline, and dollar amount you need to track so nothing slips through the cracks at the worst possible moment. The closing process involves more moving parts than most buyers expect: loan paperwork, title documents, insurance confirmations, wire transfers, and a final walk-through, all converging within a tight window.
Here is what a solid home closing checklist for buyers covers:
- Closing costs (typically 2%–5% of the purchase price)
- Closing Disclosure review at least three business days before closing
- Government-issued photo ID for every borrower on the loan
- Certified funds via cashier's check or wire transfer
- Proof of homeowner's insurance active before closing
- Final walk-through completed 24–48 hours before your appointment
- All lender-requested documents gathered and organized in advance
Staying on top of each item is what separates a smooth closing from a stressful one.
Table of Contents
- What do closing costs include, and how do you prepare financially?
- How do you stay organized from contract to closing?
- How does Nestnoted support buyers through the closing process?
- What should you bring to closing, and how do you handle local requirements?
- Key Takeaways
What do closing costs include, and how do you prepare financially?
Closing costs run 2%–5% of the home's purchase price, per U.S. Bank guidelines. For example, on a moderately priced home, this can add up to a significant amount due at the table, on top of your down payment. Many buyers underestimate this figure and scramble at the last minute.
Key figure: The TRID rule (12 CFR 1026.19(f)) requires lenders to deliver your Closing Disclosure no later than three business days before your scheduled closing. That window exists so you can review it carefully, not sign it cold.
Your Closing Disclosure breaks down every fee: loan origination charges, title insurance, prepaid interest, escrow deposits, and recording fees. The smartest move is to compare it line-by-line against your original Loan Estimate. Any fee that jumped unexpectedly deserves an explanation before you sign.
For the funds themselves, personal checks are not accepted at most closings. Arrange a cashier's check or wire transfer, and always verify wiring instructions by calling your closing agent directly. Wire fraud targeting home buyers is a documented FBI-flagged threat; one spoofed email with altered routing numbers can redirect your entire down payment.
Steps to take before closing day:
- Request your Closing Disclosure the moment it is available and review it the same day
- Confirm the exact amount due and the accepted payment method with your title company
- Call your closing agent to verbally verify wire transfer instructions before sending funds
- Check that your homeowner's insurance is bound and the policy number is ready to provide
For a deeper breakdown of what goes into these costs, this mortgage closing preparation guide covers timelines and documentation in detail.
How do you stay organized from contract to closing?
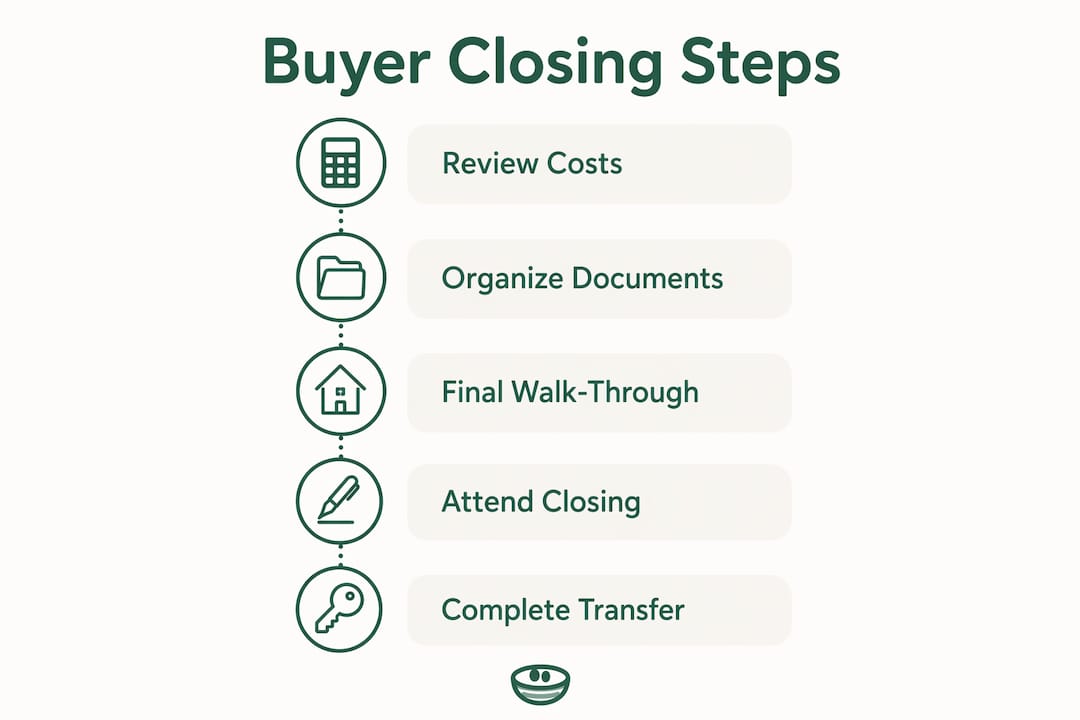
The stretch between contract acceptance and closing day typically runs 30–60 days. During that time, you are juggling inspection reports, appraisal results, loan conditions, title searches, and seller repair confirmations simultaneously. Losing track of one contingency deadline can delay closing or cost you the deal.
A master checklist and a single document repository are the two tools that keep buyers in control. Instead of hunting through email threads for your inspection report or your agent's offer notes, everything lives in one place.
What to track throughout the closing process:
- Offer terms, contingency deadlines, and any amendments
- Inspection report findings and confirmed seller repairs
- Appraisal completion and value confirmation
- Loan approval milestones and outstanding lender conditions
- Title search status and any title issues requiring resolution
- Insurance policy confirmation and binder receipt
Proactive communication matters just as much as organization. Touch base with your lender, agent, and title company at least weekly. If a condition is outstanding, ask for a status update rather than waiting for someone to flag it.
Pro Tip: Nestnoted lets you log notes, track offers, and document impressions for every property you have toured, all in a private workspace only you and your agent can see. Instead of scattered spreadsheets, you get a single organized view of your entire home buying pipeline.
How does Nestnoted support buyers through the closing process?
Nestnoted is built for buyers who are serious about staying organized without sacrificing privacy. Every note you log, every offer detail you record, and every property impression you document is kept confidential by default. That matters more than most buyers realize: candid notes about a property's flaws or your negotiating position are not things you want visible to sellers or the public.
The platform's core features address the exact pain points that make closing chaotic:
- Listing tracking with synced data from major platforms, so your property pipeline stays current
- Offer and impression logging to document what you offered, why, and what you thought of each home
- Side-by-side property comparisons when you are weighing two finalists
- Price drop alerts so you know immediately when a listing you are watching changes
- Shared workspaces for collaborating with your real estate agent without forwarding endless emails
- AI assistant that can query your own property notes to surface details you logged weeks ago
During the closing process specifically, Nestnoted functions as your private command center. You can log every document received, note every deadline, and track every outstanding condition in one place that only you control. When your lender asks whether you received the appraisal report, you know exactly where to look.
Pro Tip: Use Nestnoted's shared workspace feature to keep your agent updated on your document status in real time. It replaces the back-and-forth texts and email chains that slow down the final weeks before closing.
Nestnoted is free to use with account registration, and all main features are available without a subscription.
What should you bring to closing, and how do you handle local requirements?
Closing procedures vary significantly by state, and sometimes by county. Some states use attorneys to conduct closings; others use title companies. The documents you sign, the order you sign them, and even who is in the room differs depending on where you are buying. Contact your closing agent or title office at least a week before your appointment to confirm exactly what is expected.
What to bring to your closing appointment:
- Government-issued photo ID for every borrower (driver's license or passport)
- Cashier's check or wire transfer confirmation for funds due
- Your Closing Disclosure copy for reference during signing
- Proof of homeowner's insurance (policy binder or declarations page)
- Any additional documents your lender requested in the days leading up to closing
The final walk-through deserves its own attention. Schedule it 24–48 hours before closing to confirm the property's condition matches what you agreed to, all negotiated repairs are complete, and no new damage has appeared since your inspection. Bring your inspection report and the repair addendum so you can check items off directly.
At the closing table, read before you sign. Ask questions about any term you do not recognize. Common red flags include fees that appear on the Closing Disclosure but were not on your Loan Estimate, a loan amount that differs from what you expected, or a seller credit that is missing. These are fixable before you sign; they are much harder to address after.

A note on documents: typical closing paperwork includes the promissory note, the mortgage deed or deed of trust, the warranty deed, and your Closing Disclosure acknowledgment. The exact set varies by region and property type, which is another reason to confirm with your title company in advance.
The closing process rewards preparation. Buyers who review their Closing Disclosure carefully, verify their wire transfer instructions verbally, complete their final walk-through on schedule, and arrive with every required document in hand rarely encounter surprises at the table. The ones who scramble are usually the ones who tracked everything in their inbox.
A private organizational tool like Nestnoted gives you a single place to manage listings, offers, notes, and closing milestones without the chaos of spreadsheets or message threads. The three-day TRID disclosure window, the 24–48-hour walk-through window, the ID requirements, the certified funds: none of it is complicated on its own. The challenge is keeping all of it organized at once, under deadline pressure, while also making one of the largest financial decisions of your life.
Structured preparation turns closing day from a stressful sprint into a straightforward handoff.
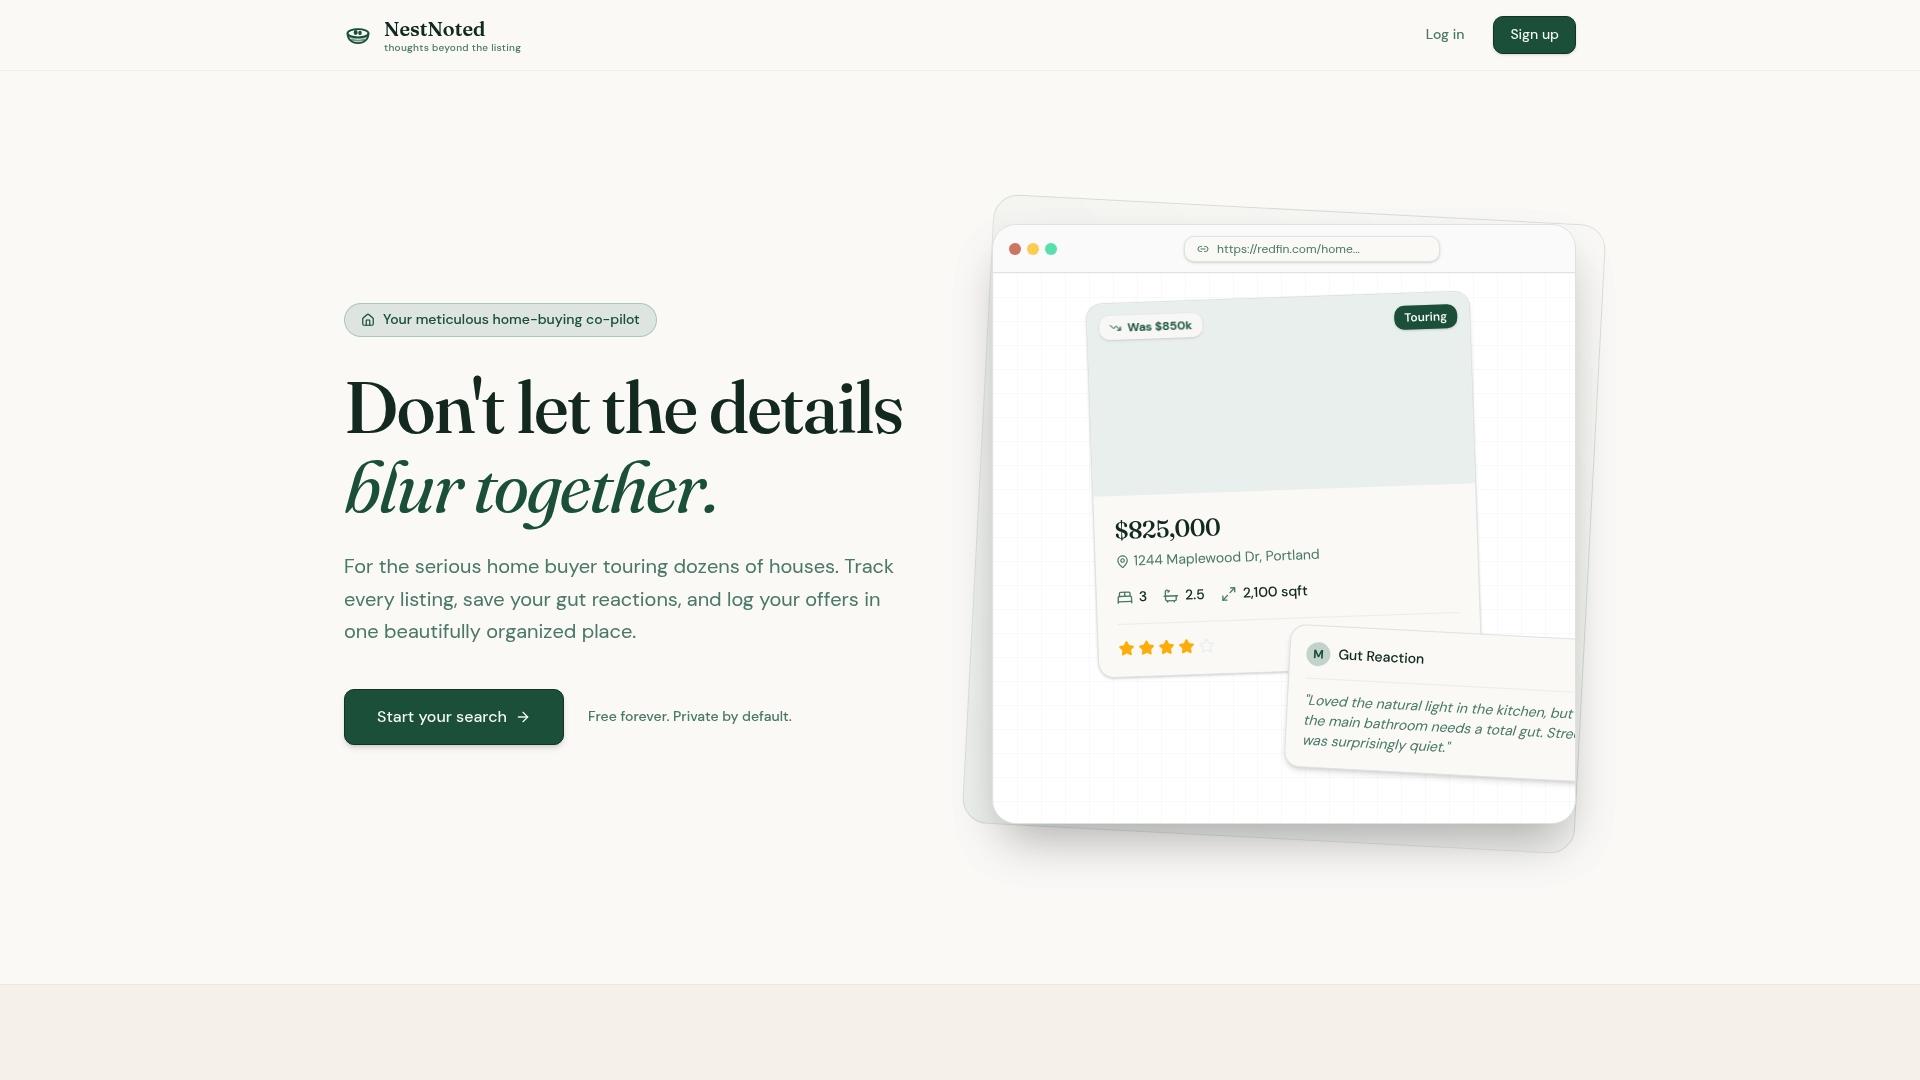
Ready to take control of your home buying process? Start tracking for free with Nestnoted and keep every listing, offer, and closing milestone organized in one private place.
Key Takeaways
A complete buyer closing checklist covers financial preparation, disclosure review, document gathering, and a final walk-through, all managed within strict federal and regional timelines.
| Point | Details |
|---|---|
| Closing costs range 2%–5% | Budget $8,000–$20,000 on a $400,000 home; confirm the exact amount before wiring funds. |
| TRID requires 3-day disclosure window | Your Closing Disclosure must arrive at least three business days before closing; review it immediately. |
| Verify wire instructions verbally | Call your closing agent directly to confirm routing details; wire fraud is an FBI-flagged threat. |
| Final walk-through: 24–48 hours out | Confirm repairs are complete and property condition matches your contract before you sign anything. |
| Stay organized with a private tool | Nestnoted tracks listings, offers, and closing milestones in one confidential workspace. |